HDR photo merging or bracketing is a great tool to use for photographers who want to show the most true to color reference of an image. When you do a bracket, you are taking 3 or more images of your subject and combing them together. Looknig at your camera, most of them will have an exposure meter on the side of bottom of your screen that looks like this:
|-----|-----|
One end of the line shows underexposure and your shadows. The middle is 0 exposure for your mid tones where nothing is under or over exposed, and the last end is your over exposure or highlights. They key to doing this is taking one image at 0 Exposure, and then dropping down your shutter speed to 3-4 stops below the O, so your second one is in the area to the left or under and last image is to the right or over exposed.. They images should look like this:
This view is from Lightroom after the images were imported. This is the develop module where the edits are made to your image. They will appear in the timeline like this, usually the default is Capture Time and will show it in line of when the images were taken.
Creating the HDR Image
This part is simple! It is all done automatically with the power of Lightroom. While in the timeline view under your develop module as shown above, select the images you want to merge. (This can be anywhere from 3 to 9 images, it is just preference but the more variations you have of exposures, more detail you will see, the average is 3). Next, right click on any of the selected images and choose Photo Merge and then HDR.
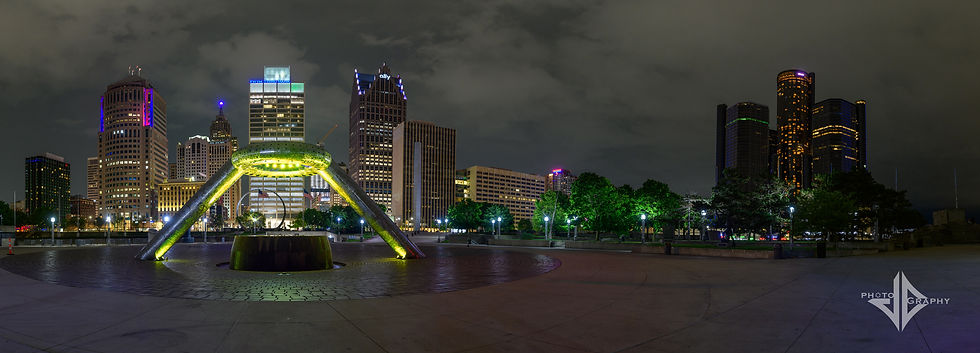
The other options showing shown above are Panorama and HDR Panorama. Panorama is used when you have a set of vertical images across the whole field in front of you. Typically used in cityscape or landscape shot when you want to see 180 degrees of an area. This can range from usually 10-14 images. For best panoramas, use vertical shots, not horizontal. It is also ok to overlap the area in your image, the merge will correct for all of this. The HDR Panorama is the same concept, but 3-5 images of each shot. So you take your 3 exposures like you would for an HDR and then your vertical images across the area. This process will automatically merge everything. An example of the HDR Panorama is below. (This is a 34 image stack)

Back to the HDR part, after you right click and choose HDR, another window will come up, that shows what your image will look like, and some other options.
On this screen, you can leave everything as you see. Auto Align, Auto Settings, Create Stack and Deghost Amount none. Choose the Merge at the bottom and sit back. Depending on your computer processor it might take a minute or two to make the merge. When it is done, your image will show up in themiddle screen and you will see a little number in the upper corner. this shows how many images are in that stack + the final product. So instead of seeing all the images in the timeline view next to each other, it keeps them together so your not confused on what ones you used. If you need to see them individually, click the number to unstack them.
After this you can make any additional edits tht are needed to your image, with the sliders on the right. The final step is exporting your image. To do this, right click on your image and choose the export option.
Another screen will come up that will allow you to set how you want to export your image, save it, location and more.
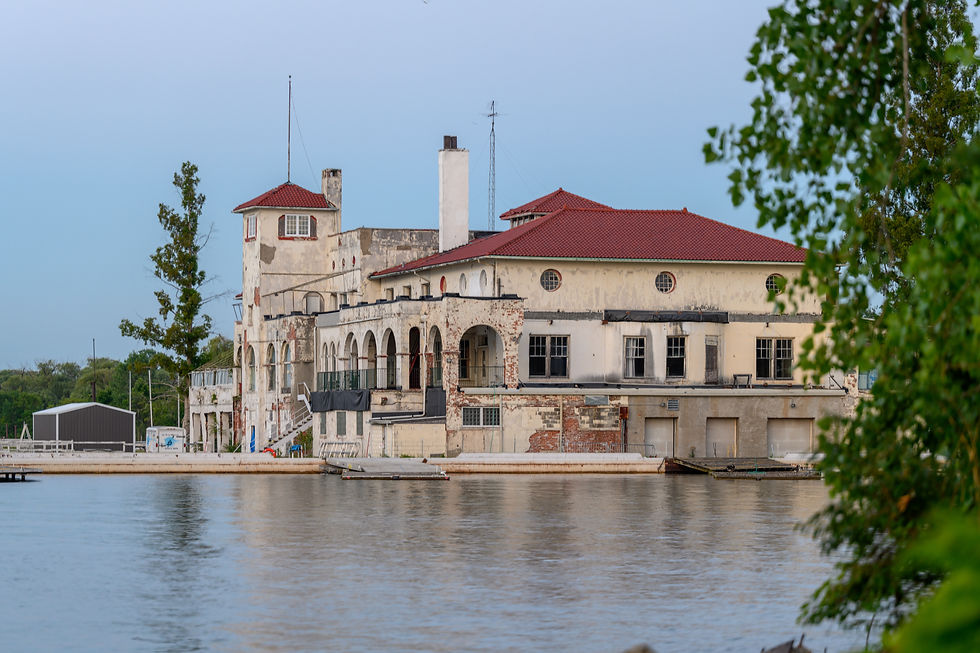
Once you selet your image format, size and location, click export and this will add the image to your location. If you want to do more images the same way, you can do "Export with Previous" and bypass the window coming up, keepeing the same previous settings. This will last until you change in Export for one image. Your final image will look like this.

Looking for more lightroom info? Check out our online class that covers into to Lightroom! https://www.michiganscapes.com/challenge-page/ol-introtolightroom
Ryan Jakubowski
Photographer / Instructor


Comments